You need to insert “Section Breaks” to do that. Then you can change the layout in each section without touching the other ones. There are multiple ways to archive this. Go to the ribbon Page Layout, click on Break and insert a Section Break on the Next Page.
In the new section, you can change Layout, without affecting preceding pages. Afterwards, insert another Section Break, and change the Layout again for the succeeding pages. If you are afraid of braking the layout of your existing document, first insert the section breaks before and after your designated landscape page than change it's layout.
Be warned, that section breaks can cause some strange behaviour to pagination, footers and headers. Sometimes it's easier to create the Landscape pages in a separate document and merge it after printing. If you want the document to start with the landscape page, go to the end of the desired landscape page, click Page Layout > Breaks > Next Page. This will add a section break after the current page.
Then, turn click anywhere on your desired landscape page again, and click Page Layout > Orientation > Landscape. If you want to start with Portrait, and another page being landscape, do the same as above, but when making the section break, click on the page that is before the page you want to change the orientation of. Section Break: You will end up with something like: If your 'odd' page is in between 2 normal pages (like above), then repeat the process but this time at the end of that page. Hd movie player for mac.
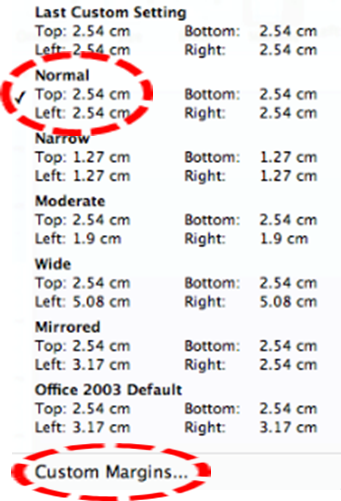
To change a page orientation, follow these steps: 1. Select pages or paragraphs that you want to change to Portrait or Landscape orientation. On the Layout tab, in the Page Setup group, click Margins. This is how you do it. Although the instructions here are for Word for Mac 2008, the over-riding principle is the same in any version of Word – create a section break, then apply the ‘landscape’ instruction to that section only. Instructions for putting one landscape page into a portrait document in Word.