Video plugin for mac. Lab 02: Installing the Eclipse IDE Estimated reading time: 8 minutes Estimated time to complete: 30 minutes (plus download time) Prerequisites: Collaboration: permitted In this course (and later ones, such as COMPSCI 187), you’ll be using an integrated development environment (IDE) to write, run, and debug the programs you write. We’re going to use Eclipse, a free and open-source IDE.
Repast Simphony downloads are available as stand-alone installation packages. The update site can also be installed into Eclipse on a Windows or macOS system. This is done by simply adding Neon in the Eclipse 'Install New Software'.
To help eliminate problems due to incompatible versions of Eclipse, we’ll all be using the same, latest, version of the Eclipse IDE: Eclipse Neon. This lab will walk you through installing Eclipse and verifying that it’s installed correctly on your computer.
Overview In this lab, you’ll download and install the latest version of the Eclipse IDE for Java development. You’ll perform some minor configuration. Then you’ll verify it’s installed and working correctly by creating a small “Hello World” project. Finally, you’ll take a screenshot to submit as proof you completed the lab. If you use a rather than your own computer, you may use the version of Eclipse installed there, which changes as IT updates the software in the computer classrooms. You will still need to perform the configuration and project creation steps detailed in this lab and submit the screenshot to receive credit. Launch Eclipse on the computer in the computer classroom, skip down to Launching Eclipse, and start by choosing a workspace.
Goals • Install a working Eclipse IDE (or show you have access to one). • Configure Eclipse to use the Java 8 environment.

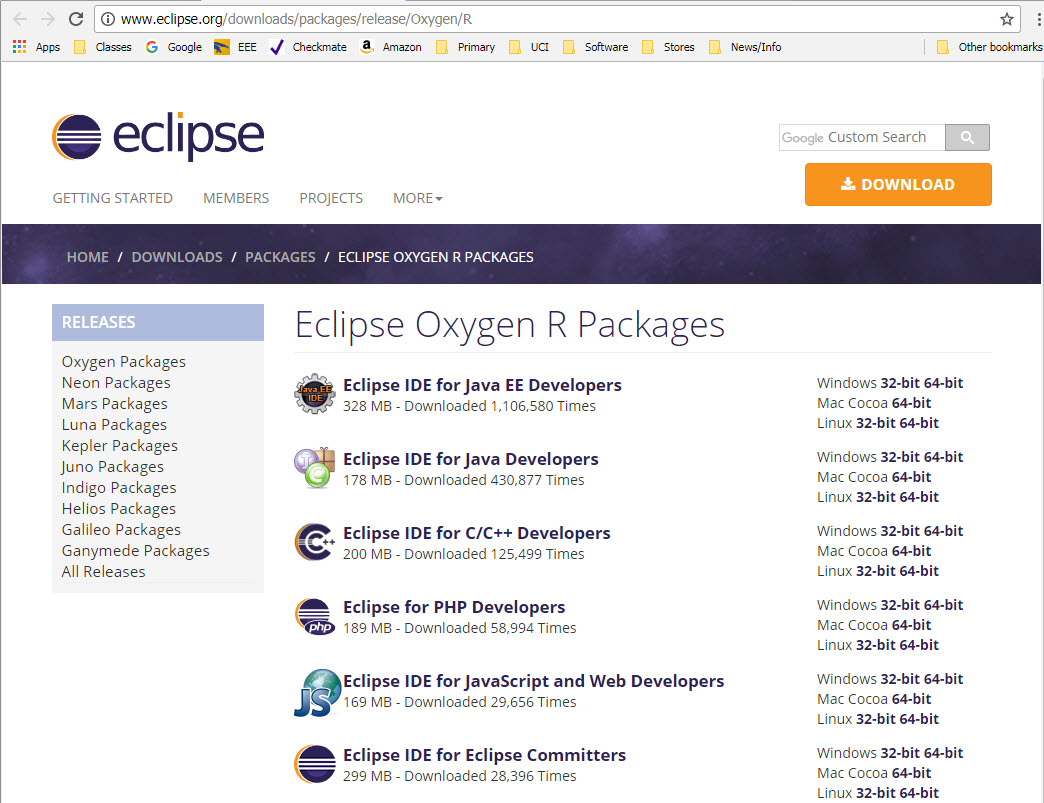
• Create and execute a simple “Hello World” project. • (optional but recommended) Set up and use cloud-based storage and/or regular backups of your COMPSCI 190D work. Downloading Eclipse Go to Eclipse’s web site (), and press the shiny “Download” button: Click “Download” again to download the installer for Eclipse: Depending upon your OS, this file may be an compressed archive (.tar.gz or.zip) or a directly executable installer (.exe). If it’s an archive, open it to find the installer ( Eclipse Installer).
Installing Eclipse Run the installer. You will be prompted to choose which “flavor” of Eclipse you want: Marvel briefly at the many options available, but make sure you select the “Eclipse IDE for Java Developers”. The default installation directory is fine (on my Mac, this is /Users/liberato/eclipse/java-neon, that is, in eclipse/java-neon inside my home directory), or you can place it in whatever directory you choose. In either case, make sure you note where it’s going so you can find it!
The installer will download and install Eclipse, and this process can take a few minutes. Launching Eclipse If all goes well, you should see something like this: Go ahead and click the “Launch” button. After a brief loading screen, you should see a window prompting you to choose a workspace: A brief but important digression: The place you choose for the Eclipse workspace is where all of your work for this course will go. I strongly, strongly, strongly suggest you do one (or ideally both) of the following: • Sign up for a cloud-based storage service, sync that storage with your local computer, and place your Eclipse workspace in this synced directory.
As a member of the UMass community, you have access to Google Drive with basically unlimited storage space through. Further, you can install the Drive application (). When this is app is running, any changes you make to files in your local Google Drive directory will be uploaded to your Google Drive (and sent to any other of your devices that are also running the application). On my Mac, this directory is /Users/liberato/Google Drive/. Other cloud storage providers such as and provide similar functionality. • Enable automatic backups to an external drive, or sign up for a backup service.
Make sure your Eclipse workspace is being backed up. OS X has; Windows has, and there are myriad third-party backup utility vendors.
Find one and use it. Make sure you know how to recover from a backup before you need it. In any event, it’s 2016: storage and bandwidth are virtually free. “My drive crashed” won’t be acceptable as an excuse in this class, except as part of the sentence, “My drive crashed when my car crashed into the power substation supplying several of Google’s data centers during an unscheduled surge protector downtime, leading to an unanticipated power spike that destroyed the data centers, caused massive data loss, and made national news.” Now back to our regularly scheduled lab. Choose an appropriate directory to store your workspace and click OK. After a bit more loading, you’ll see the default Eclipse “Welcome” screen: Eclipse has been installed.
Configuring Eclipse Quit Eclipse using the appropriate menu item. Now re-open it. (Do you remember where you installed it?) You should again arrive at the Welcome screen.