Locating your APFS container prior to resizing it Resizd Your APFS Container (the Hard Way) Let’s talk about shrinking the APFS partition, or container, first. You use the same command for both processes, but you might be likely to want to reduce the size of your APFS partition first, perhaps to install another operating system on your Mac. To shrink my 1TB APFS container to 750GB, I’d issue the following command in Terminal: sudo diskutil apfs resizeContainer disk0s2 750g jhfs+ Extra 250g That command would resize the APFS container from 1TB to 750GB, also creating a 250GB journaled HFS+ partition with the freed space. We need to use sudo here, to take administrative privileges over the Terminal session. I could have also issued the command like this, and diskutil would automatically determine the size for my new partition: sudo diskutil apfs resizeContainer disk0s2 750g jhfs+ Media 0b The output of the command will look something like this.
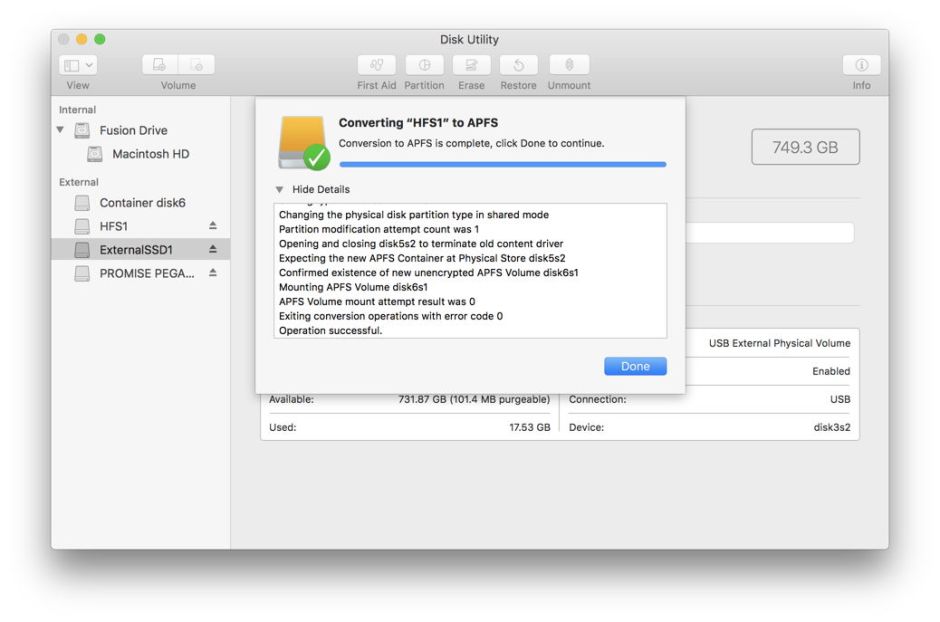
During installation, the macOS installer decides whether to automatically convert to APFS—without erasing your files: macOS Mojave: The installer converts from Mac OS Extended to APFS. MacOS High Sierra: The installer converts from Mac OS Extended to APFS only if the volume is on an SSD or other all-flash storage device. Given that apparently my fusion 3TB apparently doesn't work well with APFS I thought I'd try one of my external seagate drives, the one with the. Music editing program for mac.
Resize you APFS container from Terminal I could also create multiple partitions, using a command like this: sudo diskutil apfs resizeContainer disk0s2 750g jhfs+ Media 200g FAT32 Windows 50g Note that in my case, I could replace disk0s2 with disk1 for either command, since my APFS container is located at disk1. The diskutil command automatically locates the physical store for my APFS container, and resizes things accordingly. Shrinking Your APFS Partition to Reclaim Space If you decide you want to reclaim that space into your APFS container, you can do that using diskutil as well. First, though, you have to delete the JHFS+ or other partition and set it as free space on your hard drive. This command will do the trick, assuming your volume is named disk0s3. Sudo diskutil eraseVolume 'Free Space'%noformat% /dev/disk0s3 Next, resize your APFS container: diskutil apfs resizeContainer disk0s2 0 In this case, diskutil automatically claims all available free space on the physical storage device, but you can also replace 0 with a size value. Yes, You Can Resize Your APFS Container on a Live Filesystem Before you ask, yes, I’ve verified this process works even when you’re booted into High Sierra on that APFS volume.